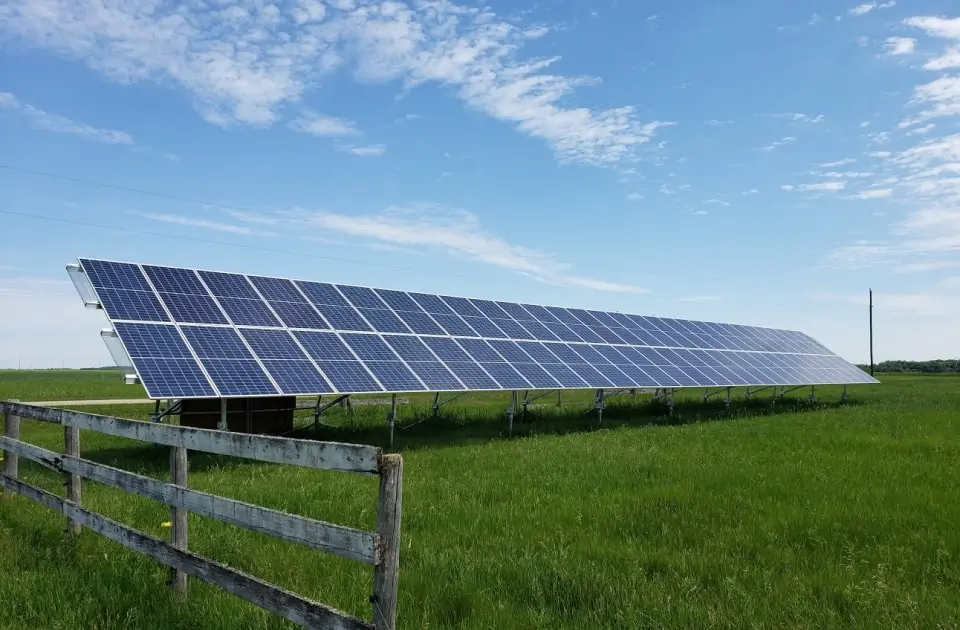
Today, with your increasing utility bills, you opt to find an alternative source of power. Residential solar energy systems can be one of your alternatives. It can be costly, but its price has decreased over the years.
If you have decided to install a solar energy system for your house, it is a good choice. This system can generate energy up to 25 years. The high cost of installation is offset by the money you save for 25 years!
The solar panel is the most distinctive component of solar energy. But how to make solar panels? There are do it yourself (DIY) solar panels that can convert solar energy into electricity.
Below are the five steps that will guide you on how to make solar panels.
Start to assemble the pieces
Below is the first part of the five steps on how to make solar panels.
Step 1: You must buy solar cells either made from China, Japan or US. Buy enough cells for the amount of energy you want to produce. Extra cells should also be considered since these are highly fragile.
You may buy cells online or from the hardware nearest you. If it is shipped in wax, dip them in hot water to clean the wax off.
Step 2: Measure and cut a backing board. The board shall be thin made of non-conductive material. Lay out your cells and cut the board. Leave a 2-inch space on both ends of the board for the wires that will connect the row.
Step 3: Look at the polycrystalline cells. Small lines are going in one direction, and two larger lines are going in a different direction.
A tabbing wire should be connected to run down those larger lines towards the back of the next cell. Write 2-3 lines of your flux pen down the length of cell strip. You must do this at the back portion of each cell to avoid oxidation from soldering.
Step 4: You must solder the tabbing on the back of the cell strips. Heat the half part of the tabbing wire and bond it to the cell.
Make sure to connect the cells
Step 1: Place a blob of glue at the center of the back portion of the cells. Place the cells on the board. Ends of tabbing wires should be movable between cells. Then connect the cells through soldering the ends of the wire together.
Step 2: The ends of your tabbing wire at the beginning of the first row should be soldered to the front portion of the first cell. Use a bus wire to fasten the two wires together.
Step 3: You should connect the second row from the first row. Connect all four wires (2 wires from each of the row) using the bus wire. Continue joining the rows until the end.
Build a panel box
Step 1: Measure your cell panel to serve as the basis of the size of your panel box. Give extra 1-inch space at each side of the box for the bus wires.
Step 2: Put a non-conductive plank on your panel box and secure them properly.
Step #: Paint the box of your desired color then put your solar unit in the box. Attach it securely and make sure that it is getting the ray of the sun. Put two holes in the box for the exit of the ends of the bus wire.
Wire the panel
Step 1: You may now connect the end of the terminal bus wire to a diode. Then connect the other cable.
Step 2: Now, you can link your panel to a charge controller. Link your charge controller towards your battery. Make sure that your battery is compatible with the size of your panel.
Seal the box
Step 1: Buy a plexiglass that fit inside the box of your panel. Attach wooden block stops for your glass, and you may use wood glue to put it into place.
Step 2: Put your plexiglass on top of the block stops. Then screw the glass carefully on your block stops. Using the silicone sealant, secure the edges of the block from gaps. Finally, you can now mount your solar panel on your roof.
That is the final part of the five steps on how to make solar panels.
Make it Happen!
Now that you learn about building and making a solar panel, make it happen! This system promotes green technology. It would not only help you but also the environment.
For a hassle-free project, you may contact a retailer and installer of solar panels. They also have available financing and rebates waiting for you.

